Create Page/News
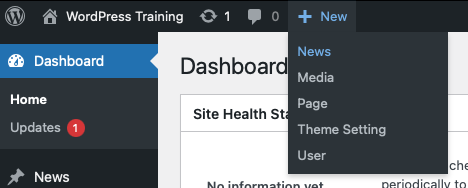
In the dashboard, select the “New” tab in the menu bar at top, and then select “Page” or “News.”
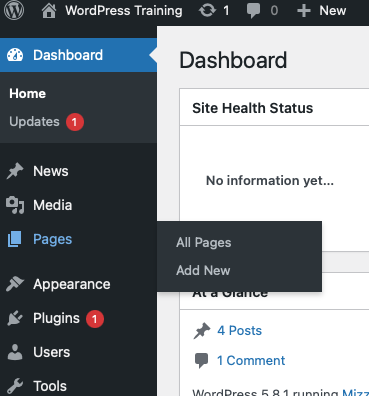
Alternatively, select the “Page” or “News” tab in the sidebar.
Title
Select a concise title that accurately reflects your post content. Click on “Add title” and type in the title you’ve selected. WordPress will automatically create a permalink, which will be displayed to the right of the content blocks under “Permalink” in the Page details.
- If you would like to edit the link before the Page or News is published, click inside of the URL Slug box and edit to your specifications.
- Once the page has been published, changing the permalink is not advised as it will break links in content on other pages and in communications and will interrupt search engine optimization.
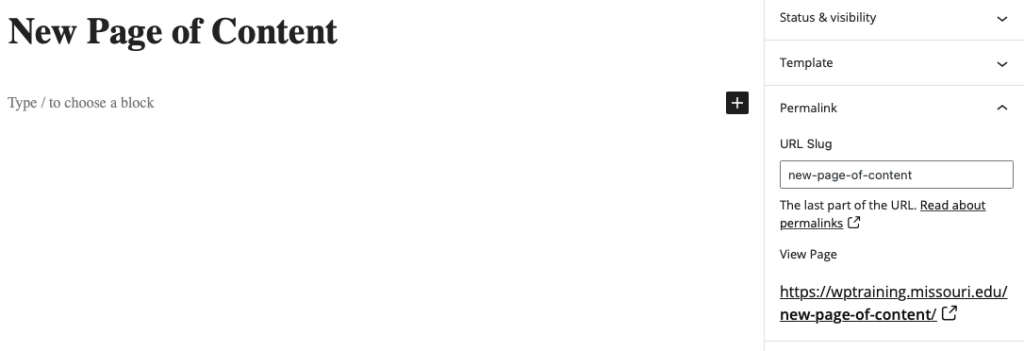
Page Details
Page Attributes allow you to set page parents and change the order of your pages.
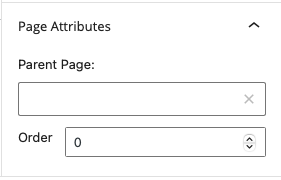
Pages can be hierarchical, which means a page can have sub-pages. For example, a parent page titled “About” can have a sub-page called “Leadership Team.” Selecting a parent helps you to organize your site. The URL’s for the pages will reflect the hierarchical nature of the pages.
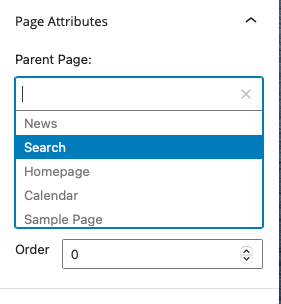
News Details
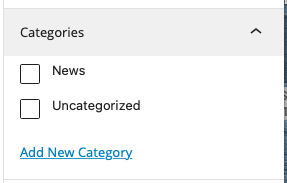
Category After you have written your story, you must categorize it so that it will properly feed into the website. In the sidebar to the right, you’ll find the “Categories” box. Select the appropriate category. Your category options will be specific to your site.
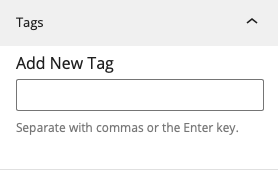
Tags can be used to group your posts, based on similar details. A visitor to your site can then use tags to find all posts that have the same tags, enabling them to view similar content. You can add tags in the box on the sidebar to the right.
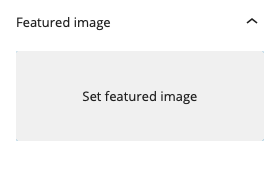
Featured Image
The featured image will be used in thumbnails across the app. In the “Featured Image” box click the “Set Featured Image’ Link. You may either select a photo that has already been uploaded or upload a new photo.
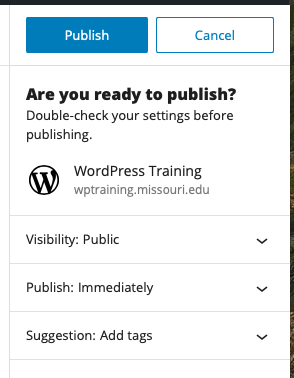
Publishing a Page or News
If you are ready to publish immediately: click “Publish”
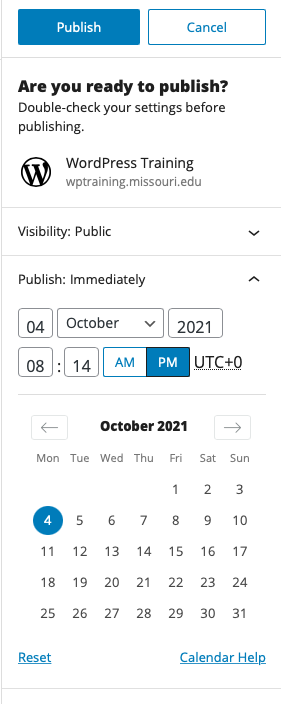
To publish at a later time and date, click “Publish Immediately.” You will then be able to select a date and time. Click “Ok” when you have the appropriate date and time set.
To edit or delete previously published or draft content:
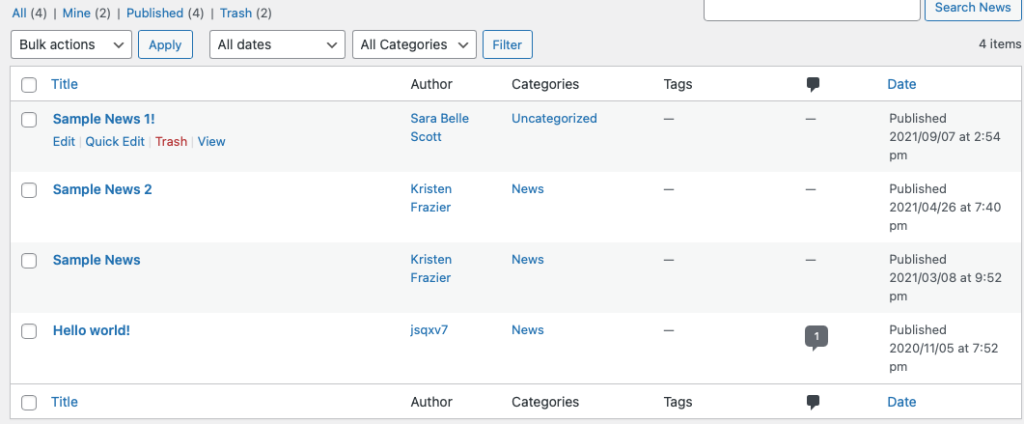
- Go to dashboard. Select the Page or News tab in the side bar, and click on All Pages or All News.
- Once you’ve located the post you would like to edit, click the title, and then click “Edit” or “Trash” in the options that appear underneath.
- If you edit previously published content, the page or news will be reverted to draft form and will be unpublished from the site. Remember to publish again as soon as you are done with edits.
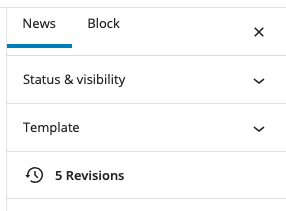
While editing a previously published post, you will have the option to preview changes or view your revision history.
While editing a previously published post, you will have the option to preview changes or view your revision history.
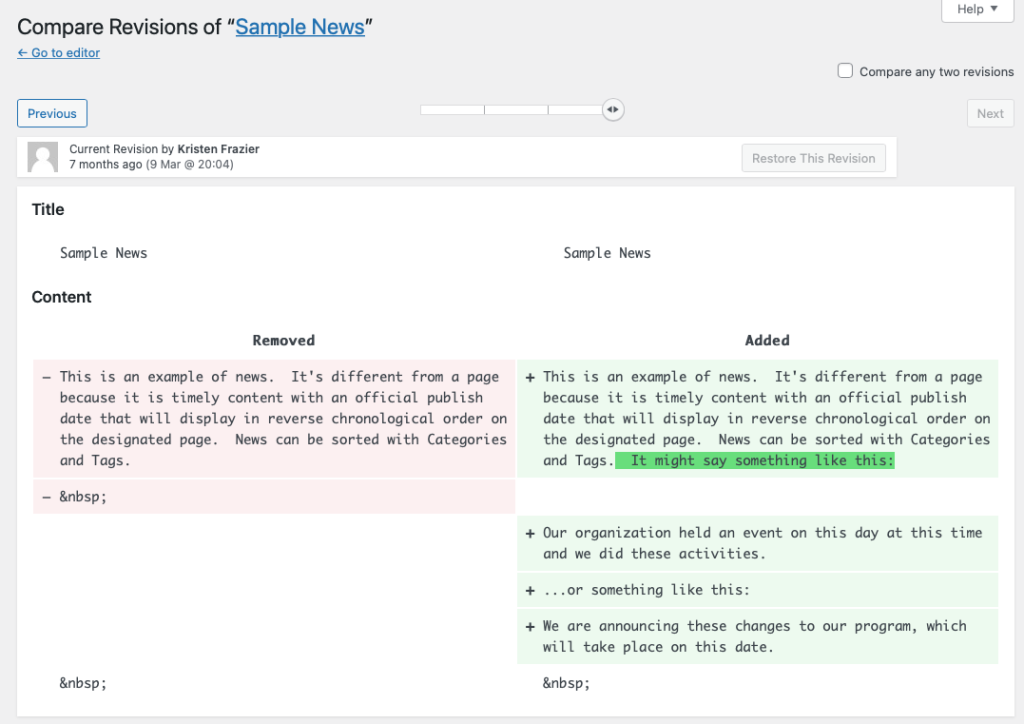
When reviewing your revisions, you will be able to restore a former revision. Use the slider to select a previous date, and then click “Restore This Revision”.
